Hexo是一个基于Node.js的静态博客框架,支持Markdown语法,可以将Markdown文件转换为静态网页。
Github是一个代码托管平台,可以将Hexo生成的静态网页部署到Github上,实现博客的在线访问。
Obsidian是一个Markdown笔记软件,可以通过Python脚本将笔记文件夹转换为Hexo博客文件夹,实现博客的批量导入。
新建Github仓库
仓库名需要为 [username].github.io
域名解析
从云服务商处购买自定义域名并配置解析
配置Hexo文件夹
下载安装Node.js
Node.js (nodejs.org)全局安装Hexo工具
$ npm install -g hexo-cli新建文件夹Ethan-Blog并初始化Hexo
$ hexo init
安装 Node.js 所需的所有依赖包$ npm install
Hexo基础指令
$ hexo g(generate)生成静态页面$ hexo s (server)启动本地服务$ hexo d (deploy)部署到远程仓库
使用Git部署到Github
安装Git
Git - Downloads绑定Github账号与邮箱
$ git config --global user.name "your name"$ git config --global user.email "your email"生成SSH密钥
$ ssh-keygen -t rsa -C "your email"将
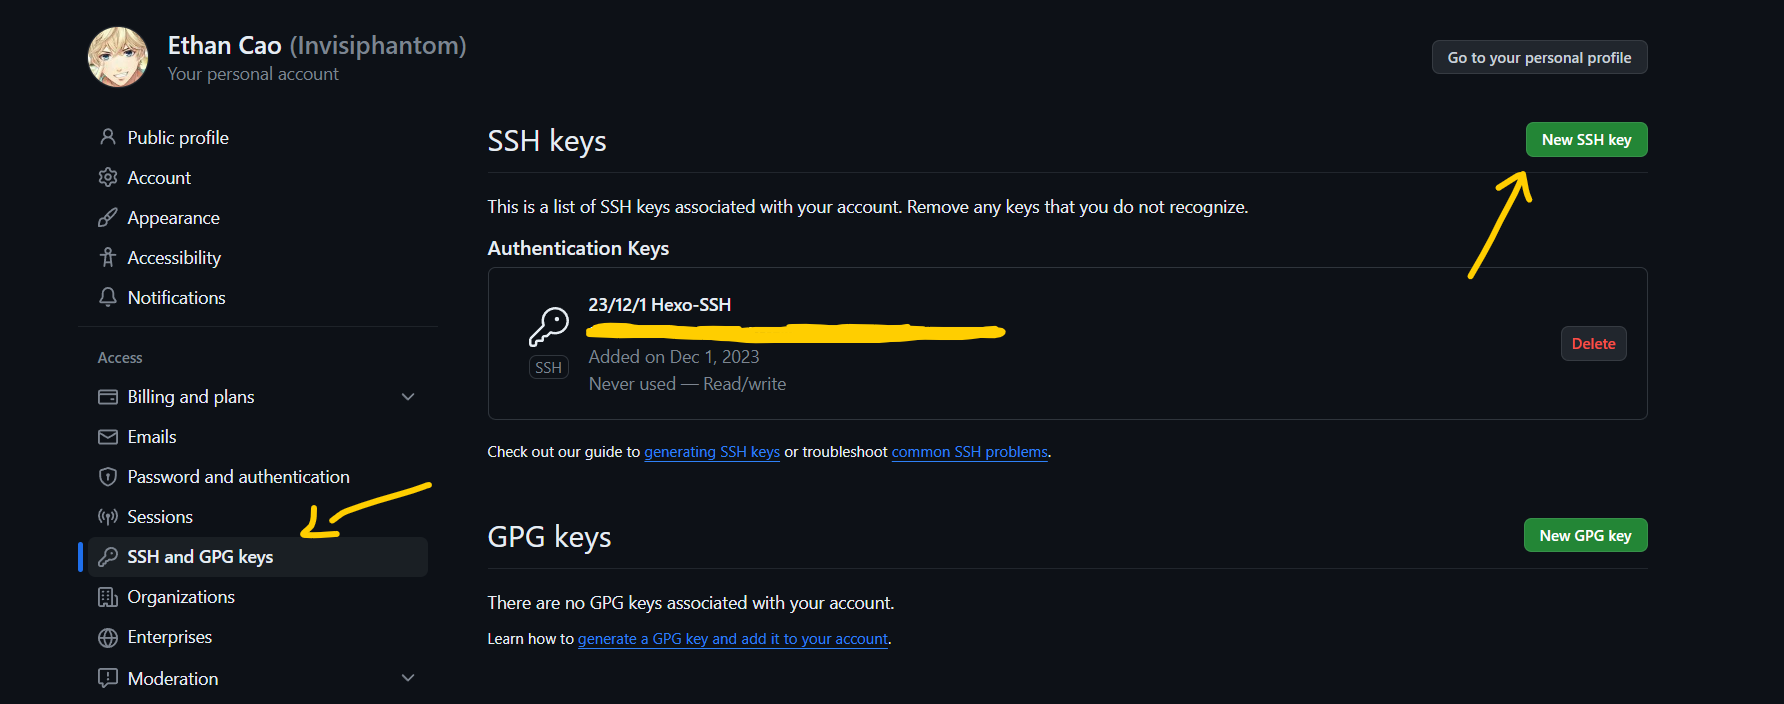
C:\Users\16770\.ssh\id_rsa.pub公钥添加到Github账号
更改私钥文件权限为只读
Linux:$ chmod 600 ~/.ssh/id_rsa
Windows:
禁止继承父目录的权限,确保文件拥有独立的权限设置icacls "C:\Users\16770\.ssh\id_rsa" /inheritance:r
授予当前用户只读权限icacls "C:\Users\16770\.ssh\id_rsa" /grant:r "%USERNAME%":"(R)"测试SSH连接
$ ssh -T git@github.com
安装Hexo-git插件
$ npm install hexo-deployer-git在
_config.yml文件中添加部署信息1
2
3
4deploy:
type: git
repo: https://github.com/Invisiphantom/Invisiphantom.github.io
branch: main在
source文件夹中添加CNAME文件并输入自定义域名
例如blog.ethancao.cn愉快地部署
$ hexo d
使用VSCode编辑
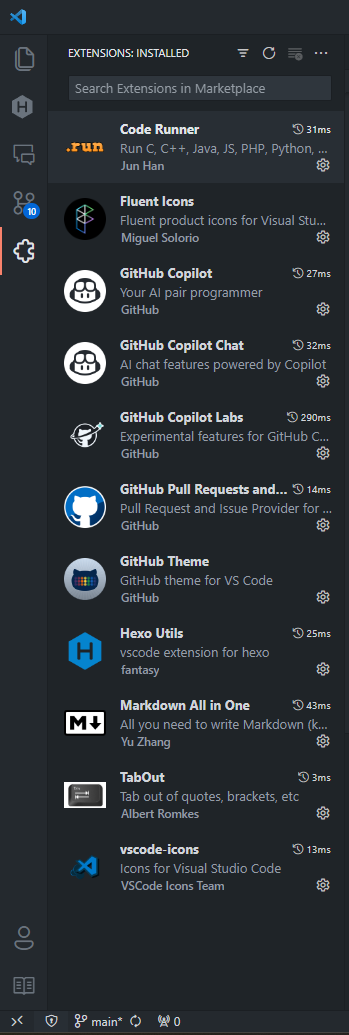
- 基础插件配置

- 用户配置
settings.json1
2
3
4
5
6
7
8
9
10
11
12
13
14
15
16
17
18
19
20
21
22
23
24
25
26
27
28
29
30
31
32
33
34
35
36
37
38
39
40
41
42
43
44
45
46
47
48
49
50
51
52
53
54
55
56
57
58
59
60
61
62
63
64
65
66
67
68
69
70
71
72
73{
"window.commandCenter": true,
"workbench.colorTheme": "GitHub Dark",
"workbench.iconTheme": "vscode-icons",
"workbench.layoutControl.enabled": false,
"workbench.productIconTheme": "fluent-icons",
"terminal.integrated.fontSize": 15,
"terminal.integrated.fontFamily": "'Cascadia Code', '雅黑'",
"terminal.integrated.defaultProfile.windows": "Command Prompt",
"explorer.confirmDelete": false,
"explorer.confirmDragAndDrop": false,
"scm.diffDecorations": "none",
"editor.tabSize": 4,
"editor.fontSize": 16,
"editor.lineHeight": 1.6,
"editor.fontLigatures": true,
"editor.lineNumbers": "relative",
"editor.detectIndentation": true,
"editor.inlineSuggest.enabled": true,
"editor.fontFamily": "'Cascadia Code', '雅黑'",
"extensions.ignoreRecommendations": true,
"vsicons.dontShowNewVersionMessage": true,
"files.autoSaveDelay": 1000,
"files.autoSave": "afterDelay",
"files.exclude": {
"**/.*": true,
"source": true,
"public": true,
"node_modules": true,
"db.json": true,
"package.json": true,
"package-lock.json": true,
"themes/next/docs" : true,
"themes/next/layout" : true,
"themes/next/source" : true,
"themes/next/scripts" : true,
"themes/next/languages" : true,
"themes/next/crowdin.yml" : true,
"themes/next/gulpfile.js" : true,
"themes/next/package.json" : true,
"themes/next/README.md" : true,
},
"git.autofetch": true,
"git.confirmSync": false,
"git.enableSmartCommit": true,
"git.decorations.enabled": false,
"code-runner.runInTerminal": true,
"code-runner.executorMap": {
"python": "python -u Setup.py && hexo clean && hexo g && hexo s",
"markdown": "python -u Setup.py && hexo clean && hexo g && hexo s",
"plaintext": "python -u Setup.py && hexo clean && hexo g && hexo s",
"javascript": "python -u Setup.py && hexo clean && hexo g && hexo s",
"yaml": "Python -u Setup.py && hexo clean && hexo g && hexo s",
"swig": "python -u Setup.py && hexo clean && hexo g && hexo s",
},
"github.copilot.enable": {
"*": true,
"plaintext": true,
"markdown": true,
"scminput": false
}
}
本地图片显示出错
安装 hexo-asset-image 插件$ npm install https://github.com/CodeFalling/hexo-asset-image
使用Python脚本转换Obsidian笔记
将Obsidian笔记文件夹 Mind-City 放在Hexo目录下
并将本地图片的链接方式修改为 Markdown的链接语法
并将附件存放在子文件夹的Annex文件夹中
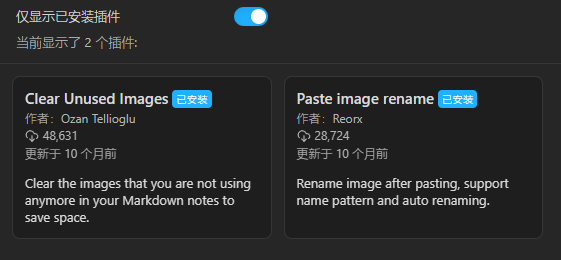
推荐两款Obsidian插件:
- Clear Unuserd images 可以自动清除没被链接的多余图片
- Paste images rename 可以自动将粘贴的图片重命名为
[filename].png格式
Python 脚本功能:
- 清空
_posts文件夹中的所有内容 - 读取
Setup.txt文件中的目标文件名target_files - 将
target_file文件从Obsidian文件夹复制到_posts文件夹 - 在
target_file文件中添加必要的头部信息(标题、创建时间、分类) - 将
target_file文件中的所有图片链接修改为直接路径 - 将所有图片复制到
_posts/target_file/文件夹中
1 | # 文件名 Setup.py |
安装主题NexT-Gemini
$ git clone https://github.com/theme-next/hexo-theme-next themes/next
修改行内代码样式
在theme/next/source/css/main.styl末尾添加
1 | code { |
启用Gitalk评论区
启用Disqus评论区
Hexo NexT 添加 Disqus 评论区 | Bambrow’s Blog
启用pjax和fancybox
1 | # Easily enable fast Ajax navigation on your website. |
在themes/next/source/js/utils.js中配置fancybox
1 | $.fancybox.defaults.hash = false; |
详细配置见fancyBox3 中文文档
创建分类引导页
$ hexo new page categories
在source/categories/index.md中添加
1 | --- |
在themes/next/_config.yml中启用该页面
1 | menu: |
在themes\next\source\css\_common\components\pages\categories.styl中修改界面样式
1 | .category-list { |
参考链接
Hexo-NexT 功能文档
超详细Hexo+Github博客搭建小白教程 | 韦阳的博客
hexo-theme-next: Elegant and powerful theme for Hexo.
